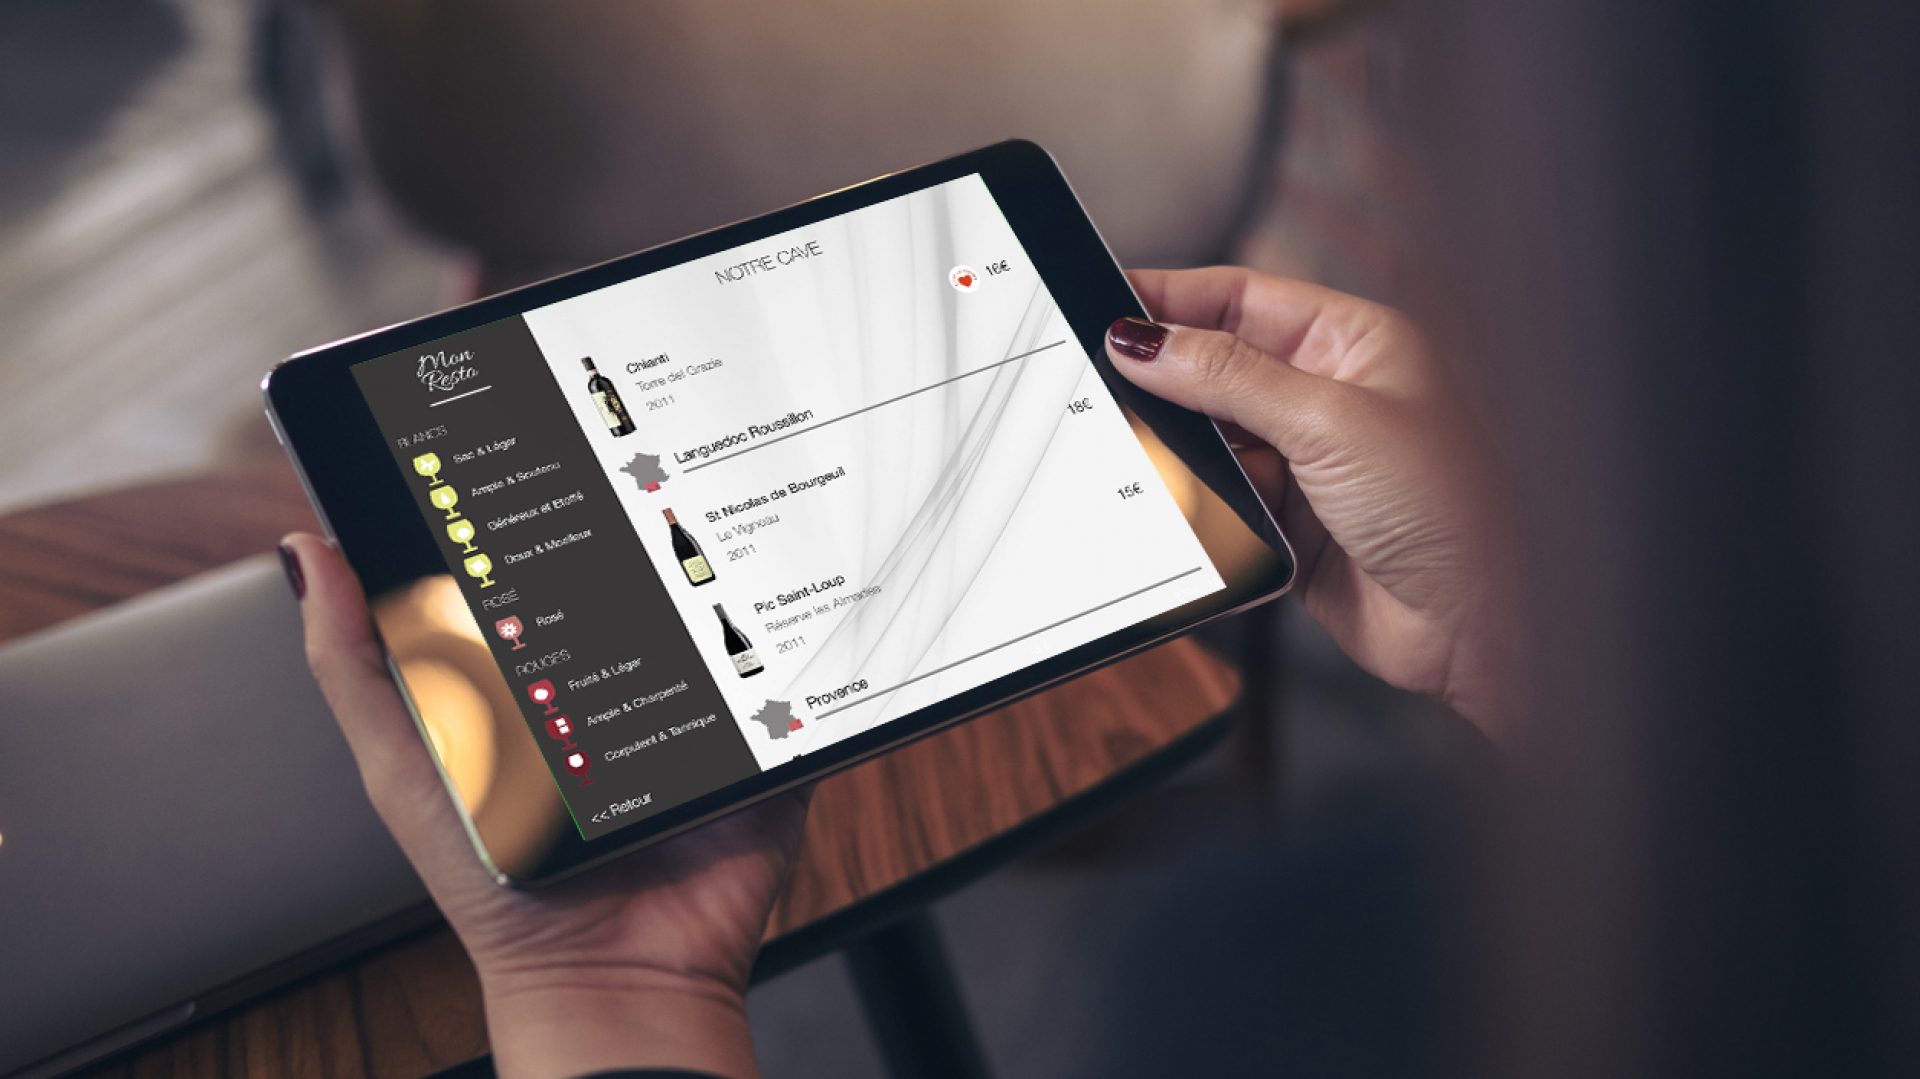
Adding a new wine to your COENA wine list on iPad is simple and quick. No need to use any back end system on PC or Mac. Follow the simple instructions below, on your iPad.
Open the COENA Administration Interface on iPad
To open the administration interface, make sure that one of your iPads is connected to Internet and open the app on the welcome screen (the screen that has the COENA logo down right along with the version of the app).
- Then, place three fingers on the middle of the screen, gently swipe down for approximately one inch and release your fingers:

A dialog will show up, asking you for your account password:

Your account password is the one used to login into the app when you first started the app.
We usually deliver your login and password information of your account per eMail or phone.
- Enter your password with the iPad keyboard and push “OK”
The administration portal will appear.
- Push the Wines Management button on the top right to open the list of wines stored on the server

The list of wines will load (depending on the number of wine and your internet connection, this can last up to 30 seconds, with an average of 5-10 seconds)
- On the bottom of the screen, pick the wine category of the wine you’d like to add to your wine list:
(Aperitif wines and Champagnes, Red Wines, White Wines, Rosé Wines and Dessert/Sweet wines.
The list of the wines from the selected category will appear. To add a new wine to your wine list, you can either:
- Push the “+” button on the top right of the screen to add a new wine

OR
- Swipe from right to left on one of the wine from the list and select “DUPLICATE” to duplicate an existing wine (for example to add a new vintage or a magnum size of an existing wine on your wine list):

The wine details editor screen will appear, letting you enter all the information from the wine you want to add (or change the information from the wine you want to duplicate.
- Save the new wine and return to the list of wines.
- If the new wine don’t appear in the list, push the refresh button next to the “+” button to refresh the list from the server.
- You can now leave the administration interface by using the “back” buttons (top left).
When the app shows the welcome screen on any of the iPads, it will check whether there have been any changes to the wine list on the server and will update the wine list locally on the iPads (if an Internet connection is available).
Note about the synchronization mechanism: when a synchronisation between the server and one of the iPad is performed, a local version of the list is stored on the device, which prevents any issue for customers if the Internet connection is down.
Learn more about editing information from a wine in your wine list by reading the following articles:


2 thoughts on “Tutorial: Adding a new wine to your wine list on iPad”
Comments are closed.